Cloning memory cards is the fastest way to copy all the files from one card to another. But, this is not just about copying files. Cloning memory cards also copies the exact structure of the folders inside your card.
This can be beneficial when you want to change the faulty memory card on your phone and want to keep all the files and data inside the old one.
You can also use SD card cloning if you are upgrading the storage capacity of your card and don’t want to lose the files inside the current memory card.
In this guide, we will show you simple and fast methods on how to clone an sd card on Windows and macOS.
How to Clone SD Card on Windows 10
If you are using Windows, follow the step by step guide below to clone your SD card. Let’s get started!
- Download AOMEI Partition Wizard on your computer.
- Now, go to the Downloads folder on Windows.
- Find “PAssist_Std.exe” and open it.
- Once you opened the .exe file, a security warning will pop-up. Click on Run.
- Follow the prompts of the installation file.
- After installing the Partition Wizard, Open the application.
- On the main page, you will find a menu of tools on the side. Find All tools and click it.
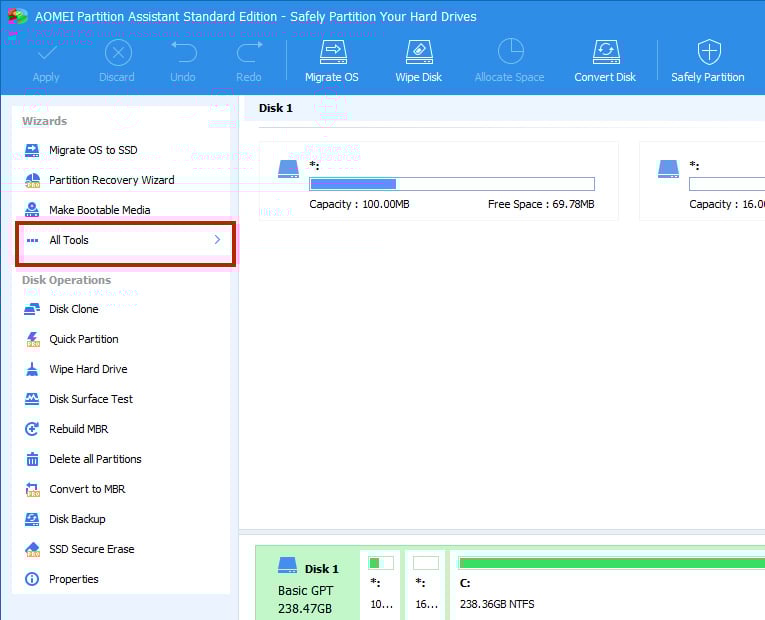
- Now, on the All tools tab, Click on Disk Clone Wizard

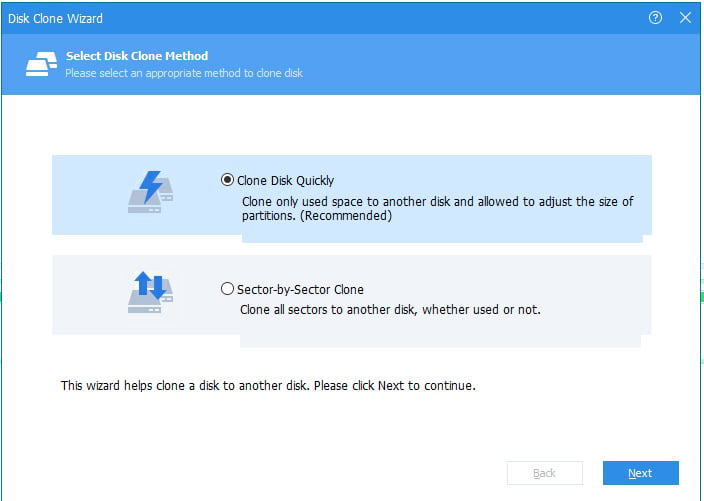
- After opening Disk Clone Wizard, you will be given an option to do a Quick Clone or Sector by Sector Clone. For this tutorial, we recommend to select the Clone Disk Quickly and click on Next.
- Next, select the memory card that you want to clone.
- Then, select the memory card you want to be cloned.
- You will be asked to adjust the partitions on the destination card, just click on Next
- Lastly, click on Apply to start the cloning process. This may take a while depending on the files stored on your SD card.
How to clone SD Memory Cards on Mac
If you own a mac, don’t worry we got you covered. The steps below will guide you to cloning your memory card using your Macbook.
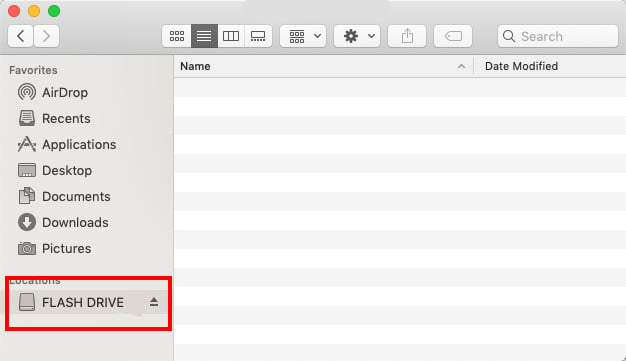
- Insert your current memory card on your macOS device.
- Once detected, it will pop up on the Finder on Mac.
- Now, open the Application folder, find the Utilities folder, and open Disk Utility.
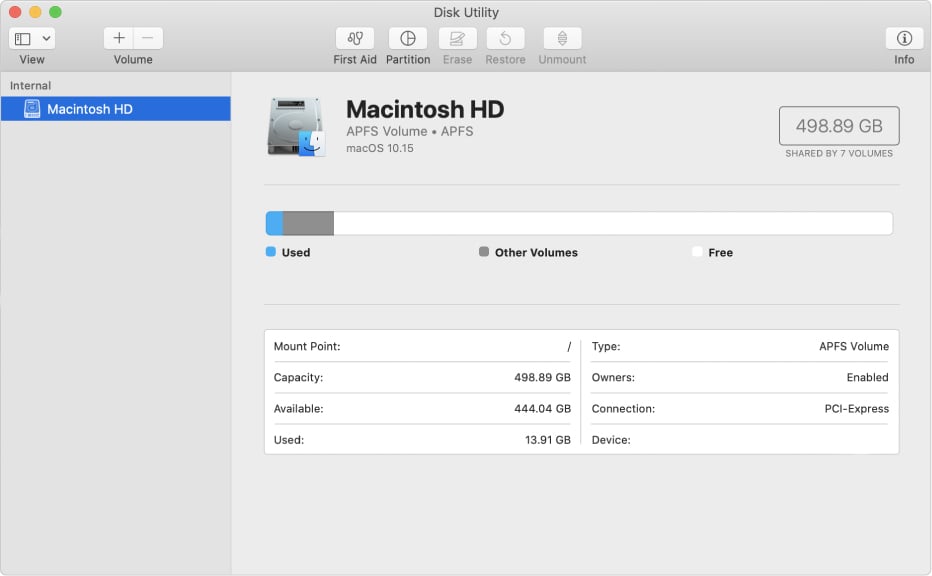
- Find your memory card and click New Image.
- Choose a name for your card’s backup and insert the sd card you want to store the cloned files.
- Now, the cloning process will finish. The file would be in .dmg (disk image) format. To use the cloned file, you just open the .dmg file and it will automatically mount to your computer and you can use it as normal flash storage.
Now, if you want to backup your memory card from a Raspberry Pi you can also use memory card cloning. This can help you in case your current memory card fails you won’t need to set up everything again when you changed your memory card.
How to Clone Memory Card from Raspberry Pi
In this part, we are going to show you how to clone your Raspberry Pi memory card in a few simple steps.
Let’s get started!
- To clone your Raspberry Card, you would need a tool like the Win32 Disk Manager. Download the tool and install it.
- Now, open Win32 Disk Manager.
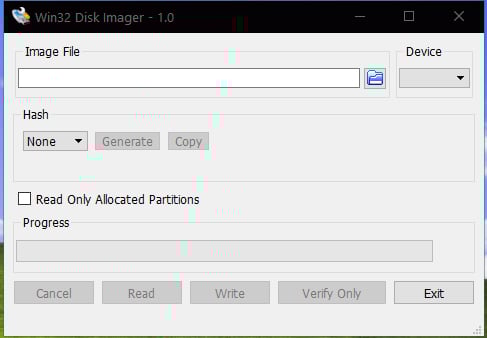
- On the main page, you will see a blue folder icon. Click it and select the location for the image that you want to create.
- Then, select the memory card of your Raspberry Pi from the drop-down menu beside the blue folder icon.
- Double-check if you selected the right memory card and location of the backup. After checking, click on Write
- Wait for the process to finish then, copy the backup file to your new memory card.
This sums up the ways on how to clone your memory card for both Windows and macOS. Remember to always use a memory card that is new and 100% working if you plan on using it for backup.
Di you know you can also clone your hard drive. Find information on how to do that: 4 Best FREE Hard Drive Cloning Software (Mac & Windows)
Read more:
- Memory Card Battle: Samsung Evo Plus vs SanDisk Extreme
- 7 Best (FAST) Sandisk Micro SD Cards
- 5 Best SD Cards for GoPro Hero 5 [Black + Session]
- SD Clone Guide] How to Clone Your SD Cards in Seconds
(back to our SD Card Reviews page)